For the average homeowner the DWV system (drain, waste, vent) is taken for granted. You run water in a sink or flush a toilet and it all just “goes away.” As home inspectors we know there’s lots going on behind the scenes, and that even minor problems can cause a huge mess in a hurry. The network of drains, waste pipes, and air vents must be properly installed and in good repair. Small leaks can have serious health implications. Waste goes downhill, gas goes up: poor drain slope or bad venting will bring the system to stop. Proper cleanouts are needed so minor issues don’t become major. Ejector pumps must be correctly installed. Basically, everything in the DWV system is geared to making sure the home stays clean and healthy, and that all that stuff keeps “going away.” While we are not code inspectors, you should take the time to review the provided Code references to be familiar with some of the details of proper DWV configuration. This will enhance your understanding and confidence, especially when inspecting unworkmanlike installations. Don’t forget to use appropriate Information and Limitation Statements.
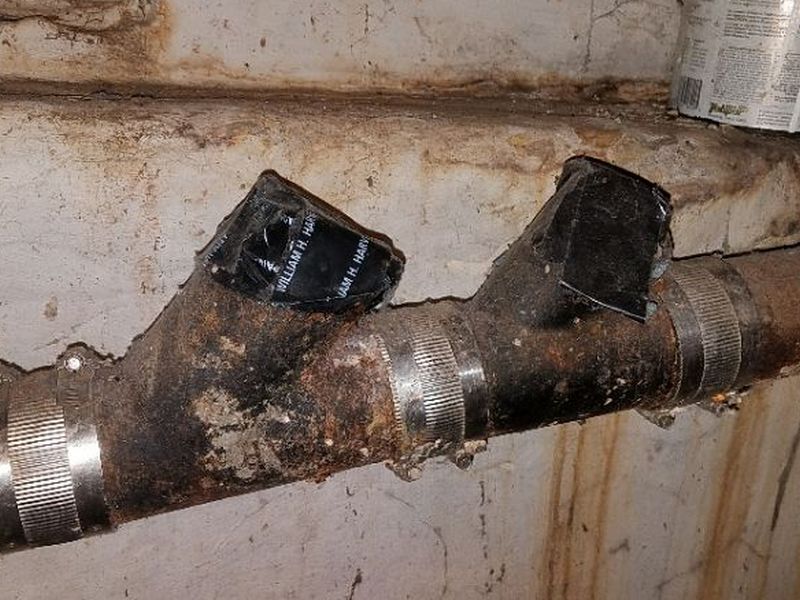
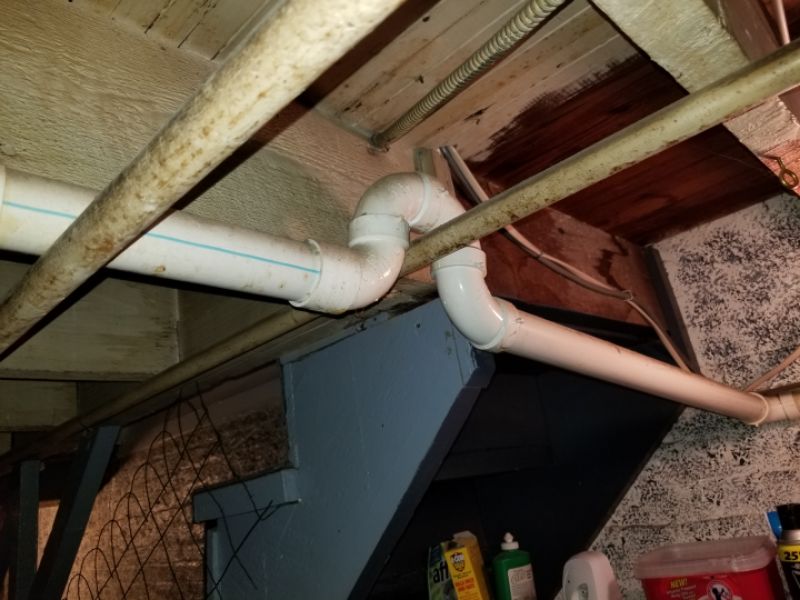
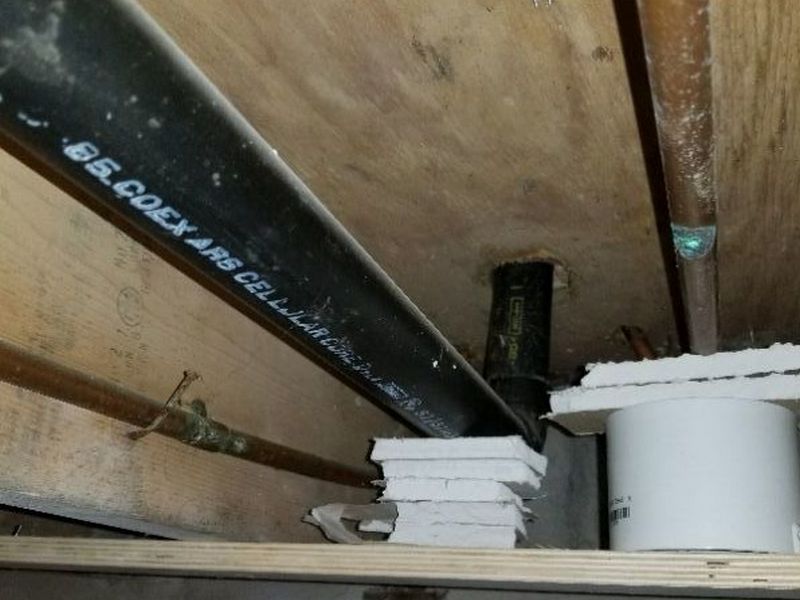
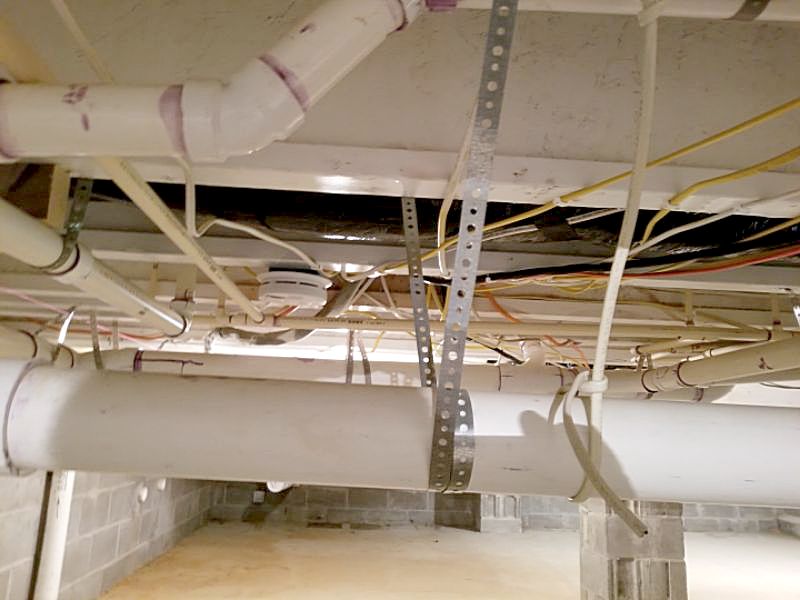
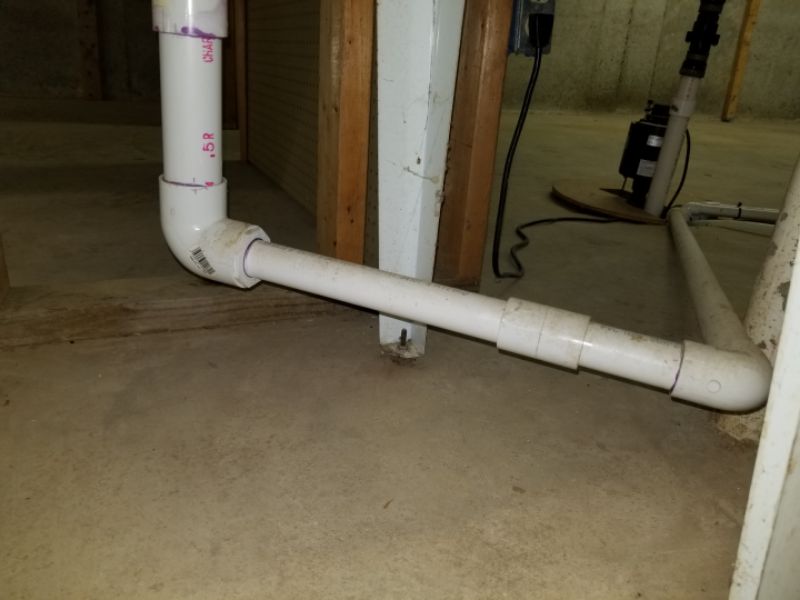
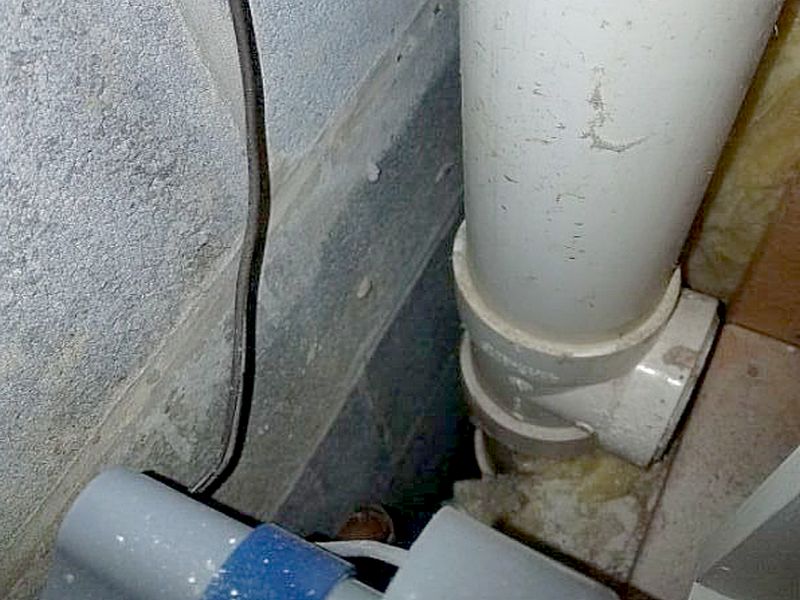
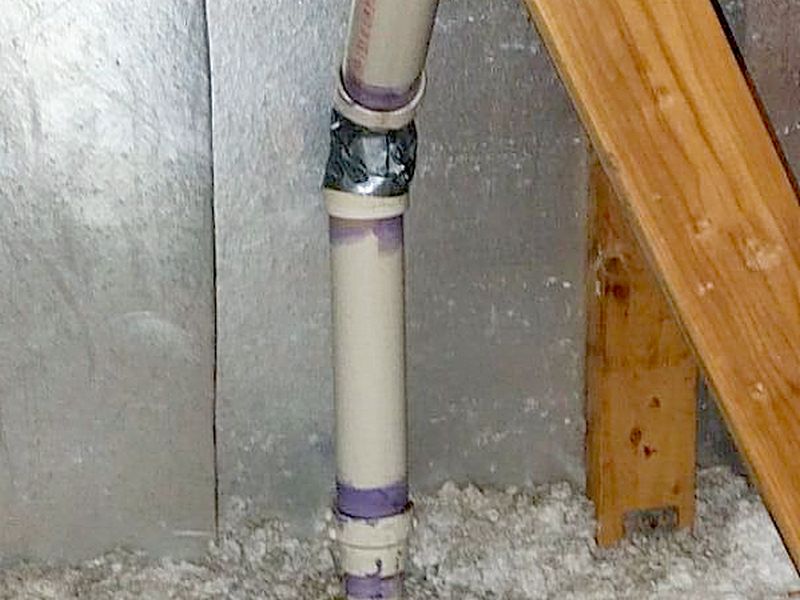
Inspect for any stains, openings, damage, deterioration, or signs of leakage. Smaller drains must slope downhill at 1/4″ per foot; 3 ” and 4″ drains can be 1/8″ per foot if approved by the local official. Pipe support must be provided. A drain cannot reduce its diameter in the direction of flow. Proper traps are required, and obsolete and/or improper ones are common. Don’t forget to look for cleanouts where needed.
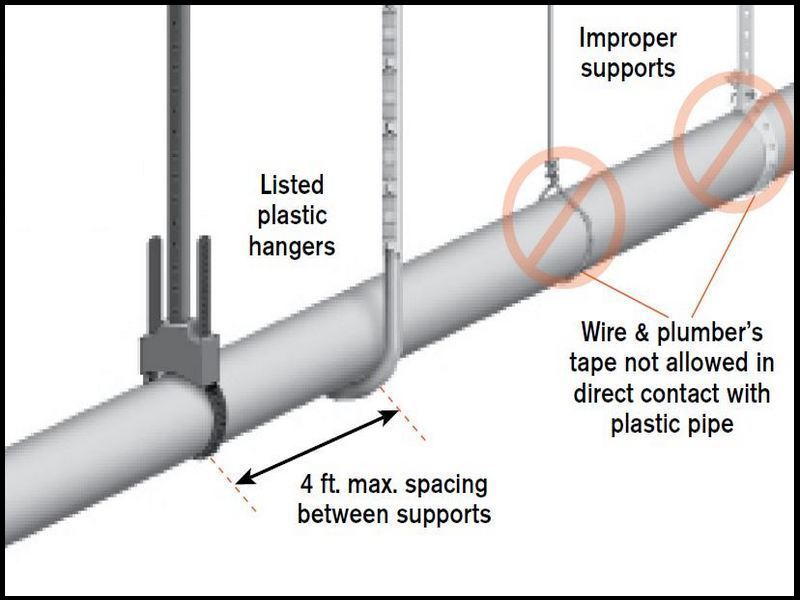
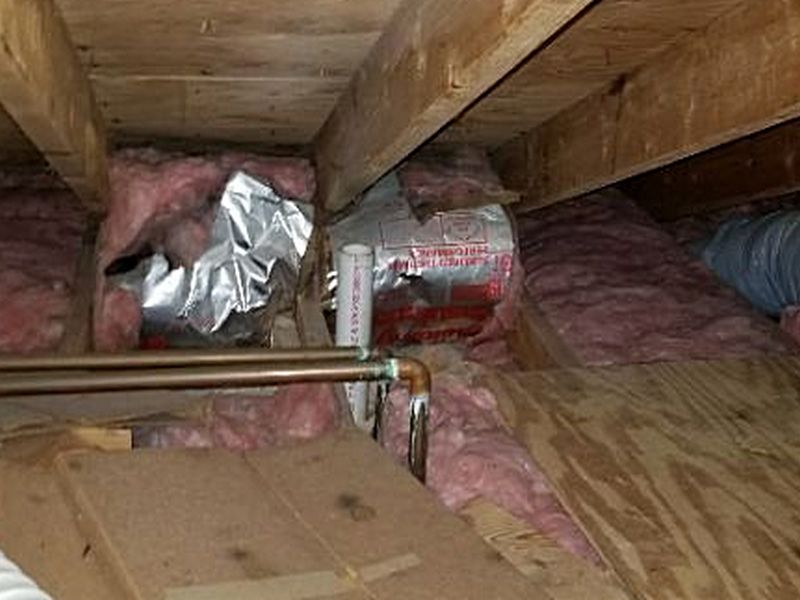
Guidelines for plastic pipe supports and their spacing
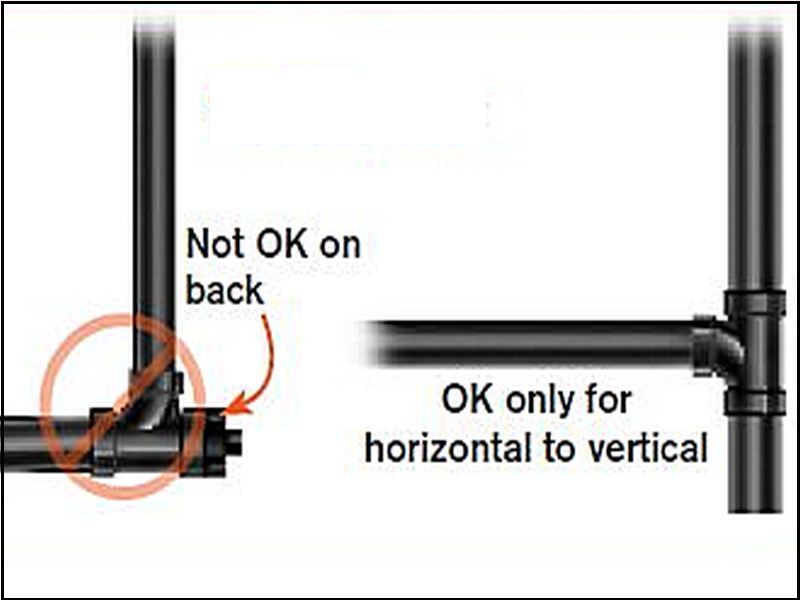
Proper installation of sanitary tees
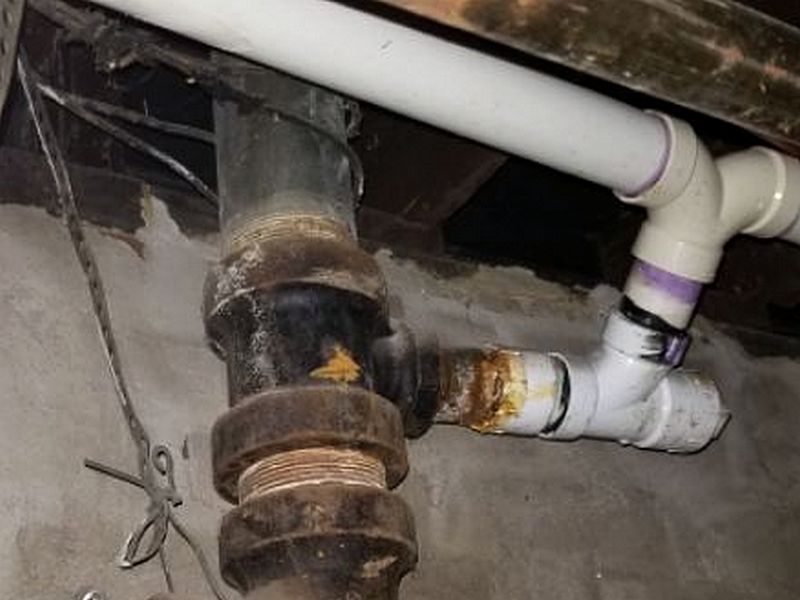
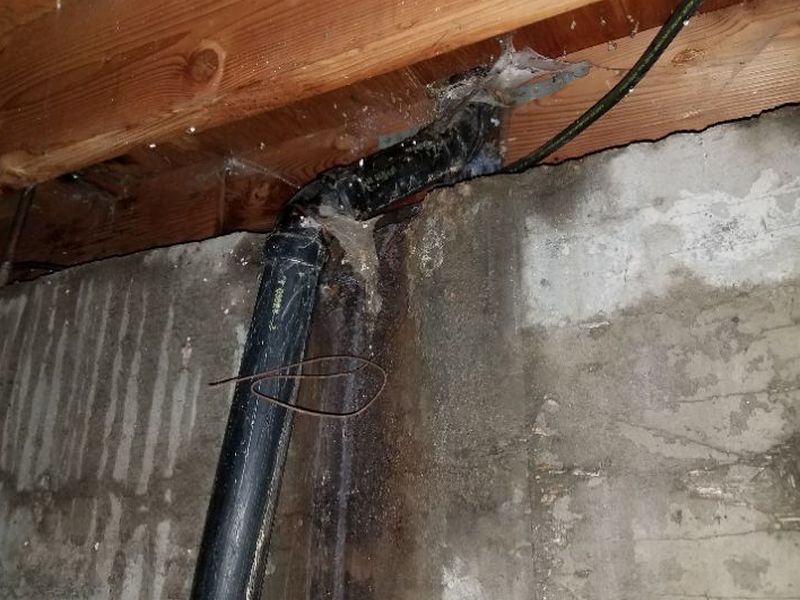
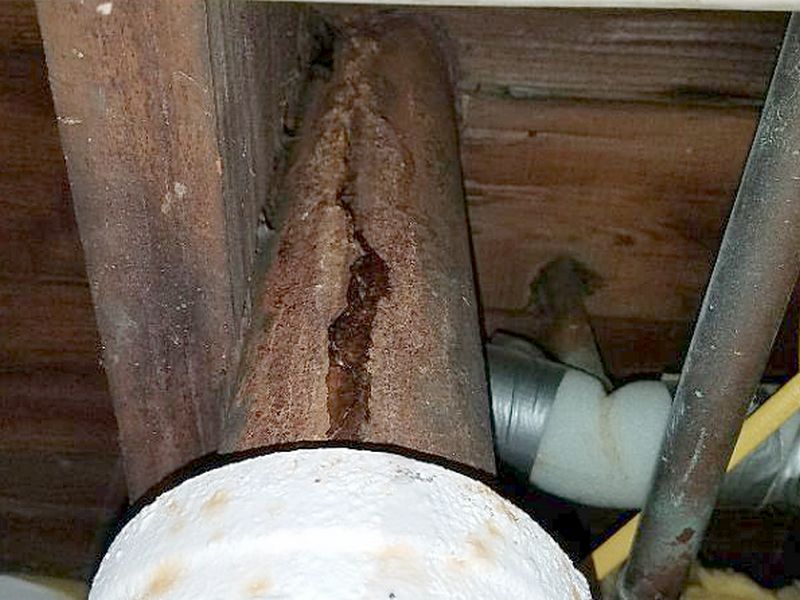
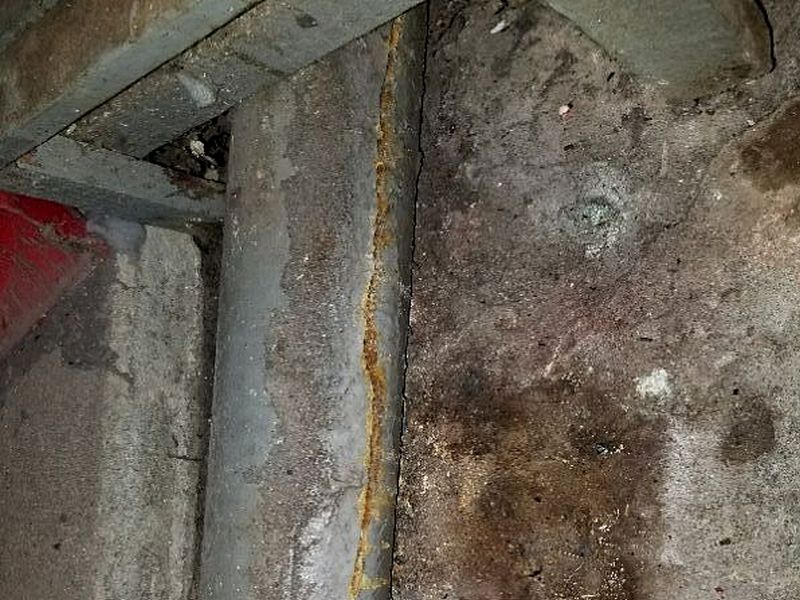
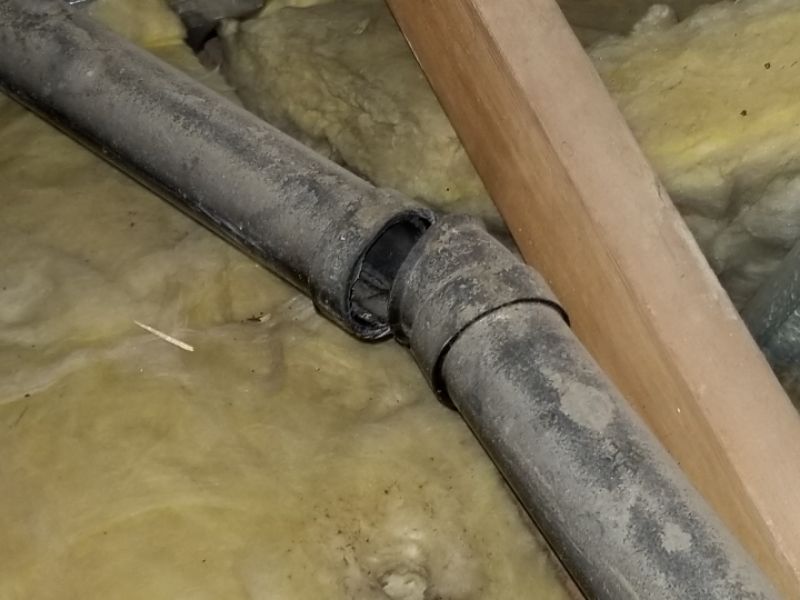
A stain is visible on a drain pipe connection. This indicates a previous leak which could leak again at any time. Leaks can lead to damage and health hazards.
There are openings in the drain pipes. This permits waste and sewer gases to escape, and is a health issue. Hire a plumber to repair or replace the pipe.
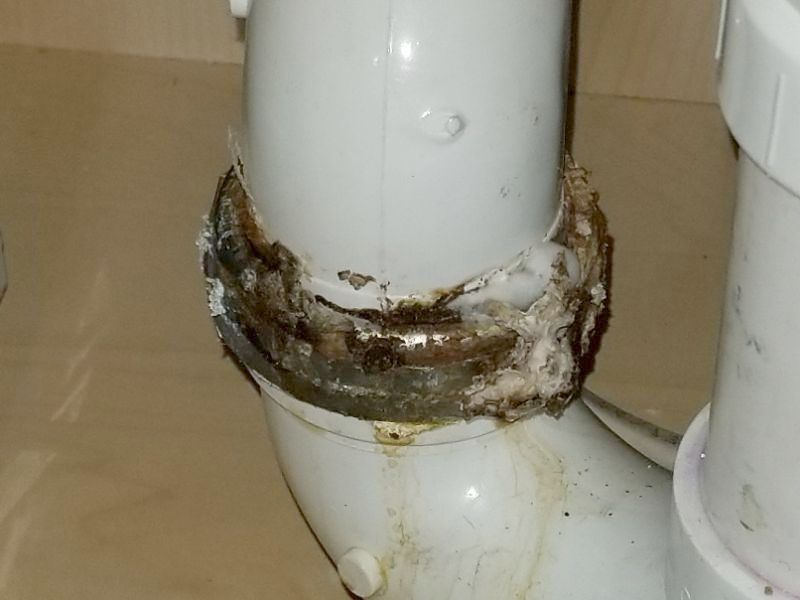
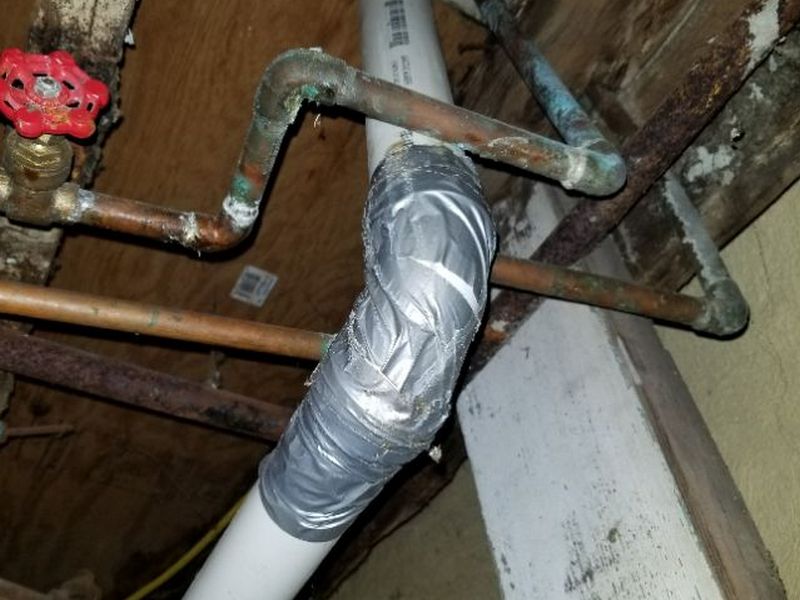
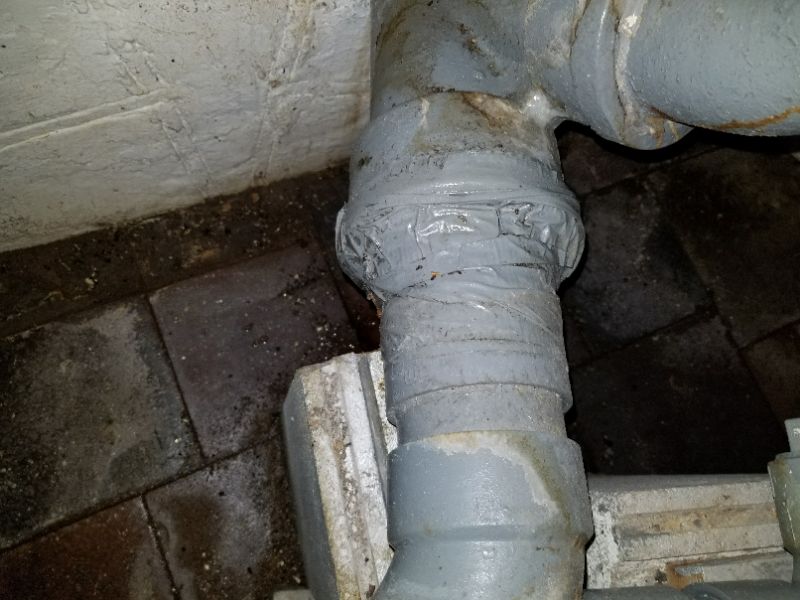
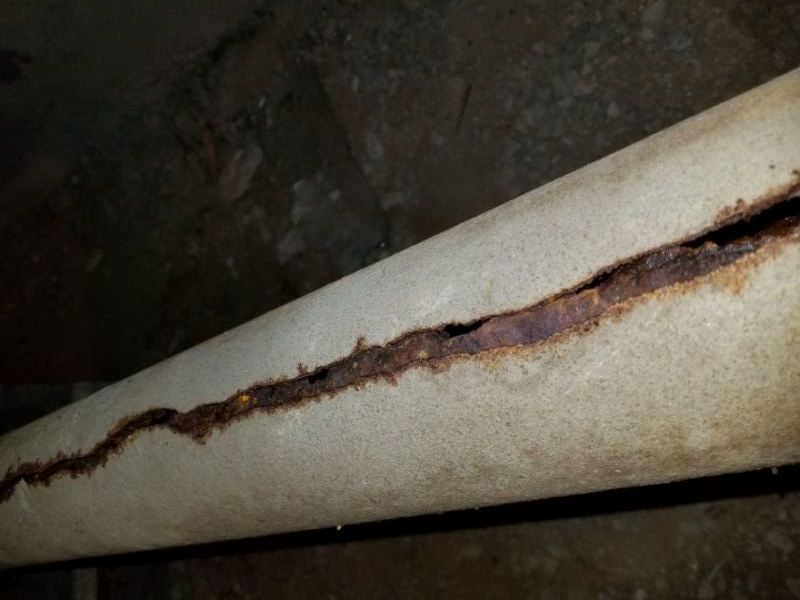
The drain pipe is leaking. This is a health hazard and will cause water damage to the surrounding areas. Hire a plumber to repair or replace the pipe.
The drain pipe is damaged. A leak is a health hazard and will cause water damage to the surrounding areas. Hire a plumber to repair the pipe.

The drain pipe is deteriorated and unreliable. A leak is a health hazard and will cause water damage to the surrounding areas. Hire a plumber to repair the pipe.
The drain pipe is improperly sloped. Drains sloped less than 1/4″ per foot will tend to form clogs and leaks. Hire a plumber to reinstall the pipe with a proper slope.
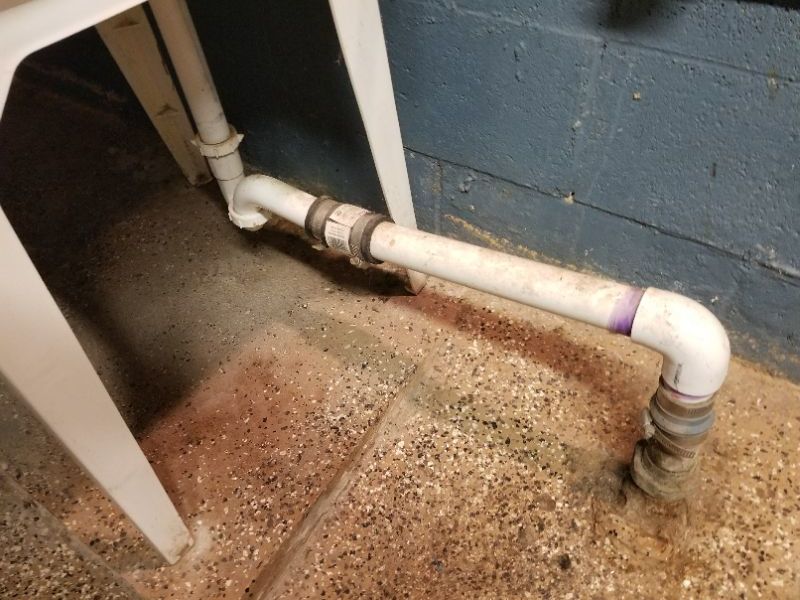
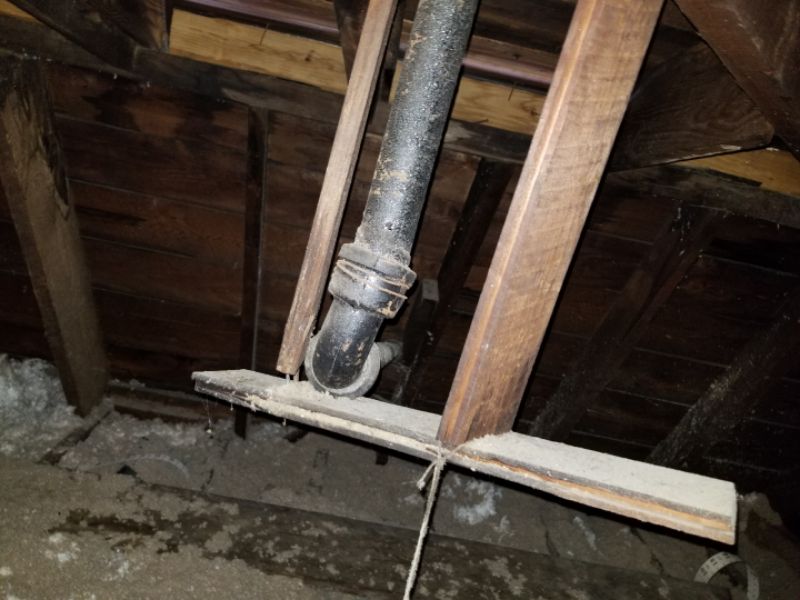
The drain pipe is not supported properly. This can lead to loose fittings and potential leaks. Hire a plumber to secure the pipe.
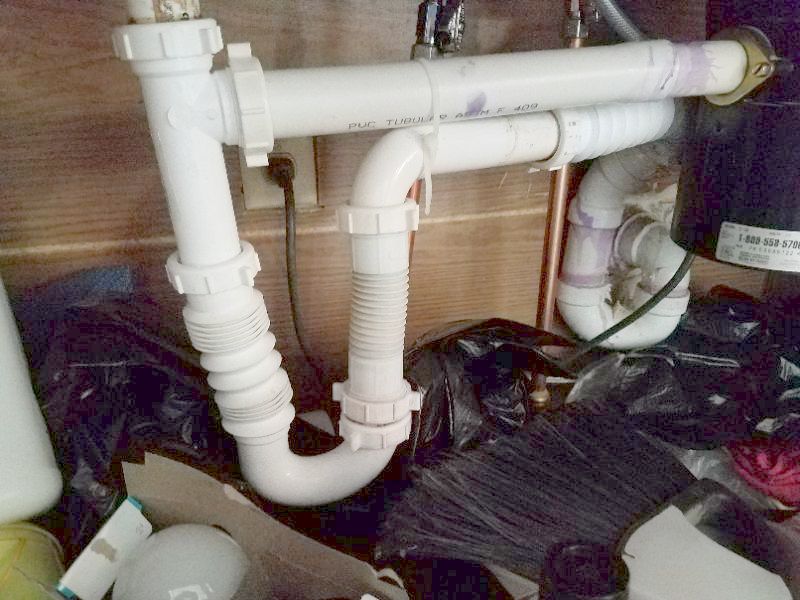
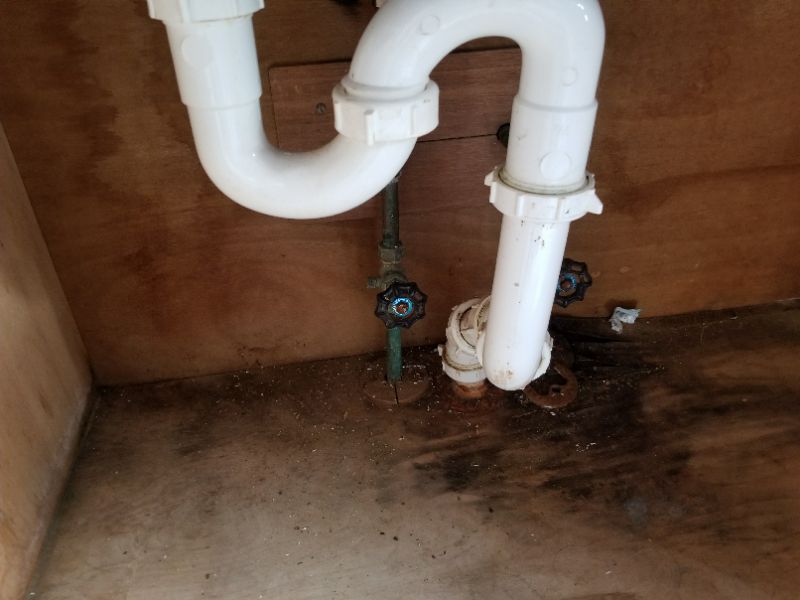
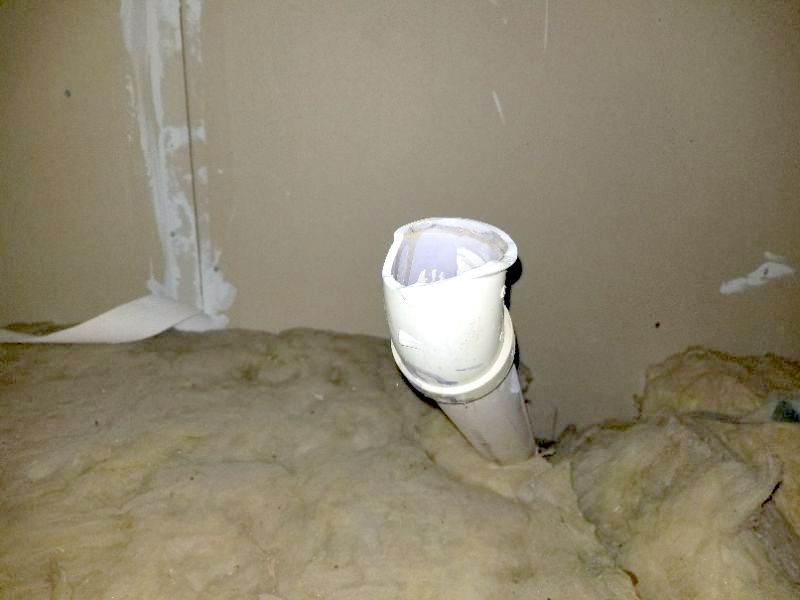
The drain pipe is missing a trap. Without a trap, sewer gases may enter into the living area. Hire a plumber to install a trap.
The drain pipe is a corrugated or accordion style; the folds can collect debris and clog. Hire a plumber to replace the pipe.
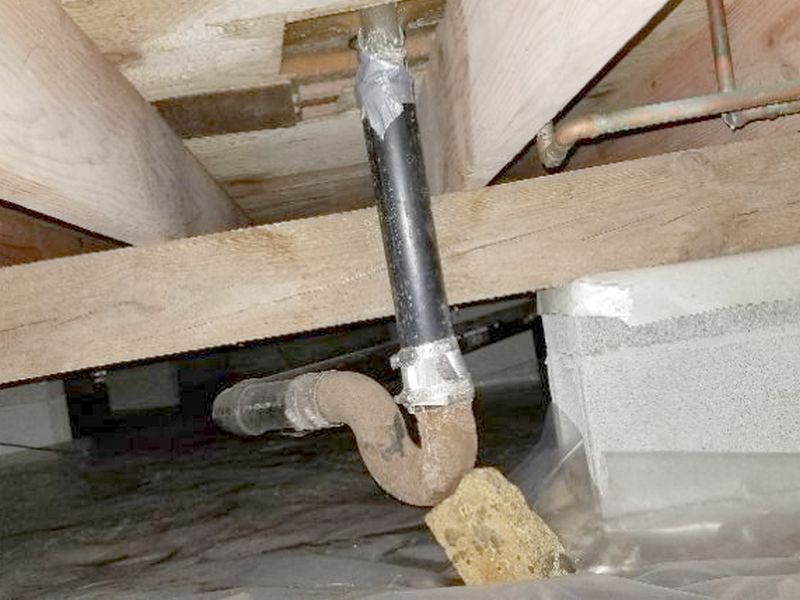
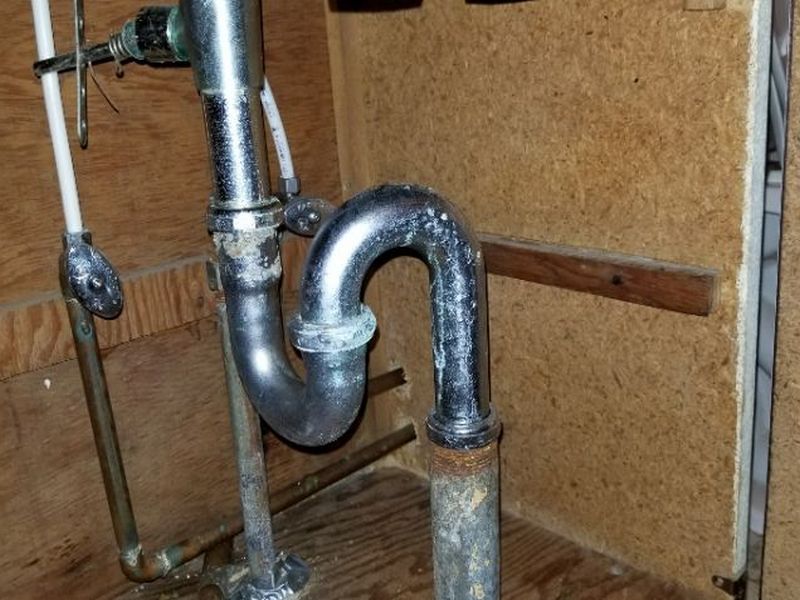
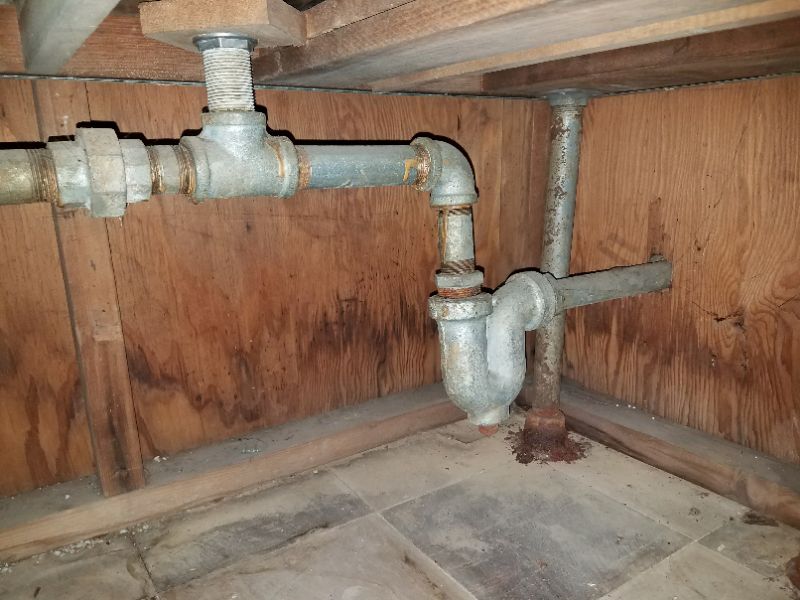
The drain pipe has an “s trap” installed. This can leave the trap empty and permit sewer gases to enter into the living area. Hire a plumber to make the needed repairs.
The drain pipe gets smaller in diameter as the waste flows downstream. This is not permitted and can lead to clogs and leaks. Hire a plumber to replace the pipe.
Cleanouts are necessary for clearing drain obstructions and for inspecting the building sewer with a sewer camera. While each code allows cleanouts to be in crawl spaces, a preferred method is to extend them to an area that is more readily accessible. When those conditions cannot be met, the cleanout must be extended to the exterior. The IRC allows drain cleaning through a removable fixture trap or by removing the toilet.
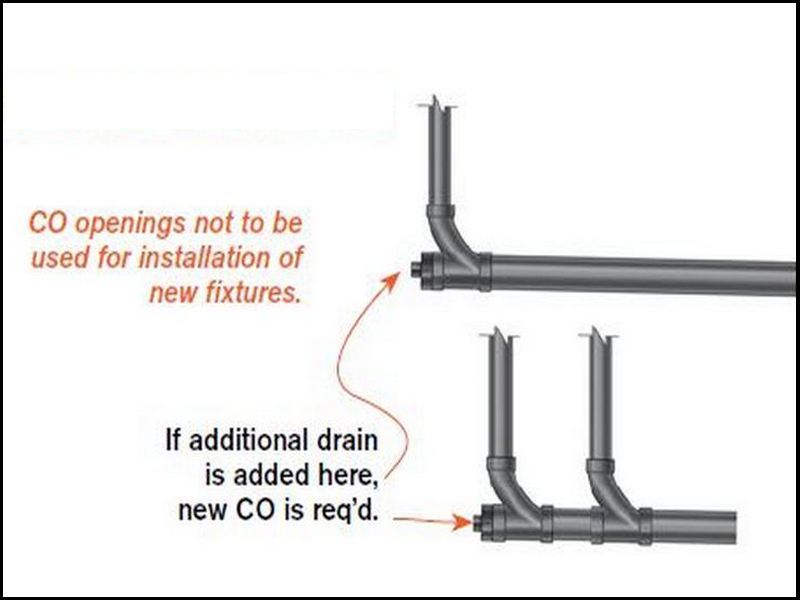
How to add a drain at a cleanout
The cleanout cap is damaged. This permits waste and sewer gases to escape, and is a health hazard. Repair or replace the cleanout cap.
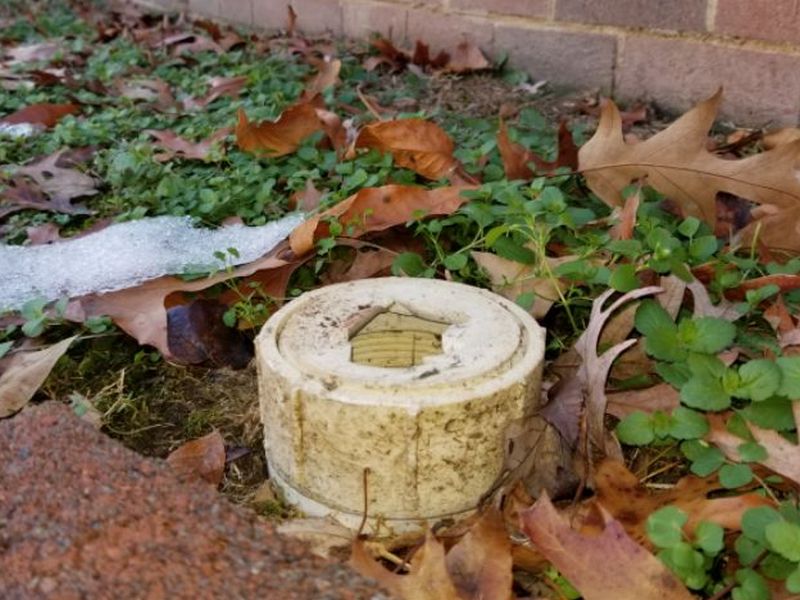
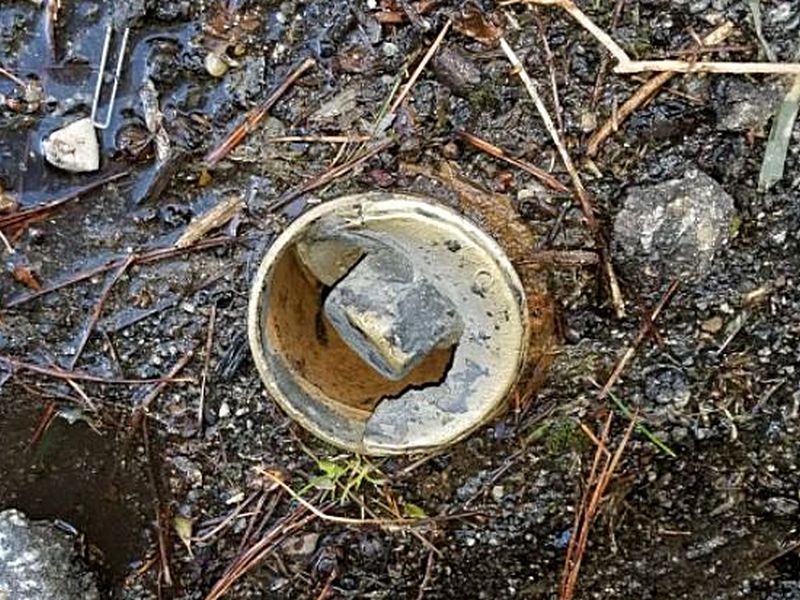
The cleanout cap is missing or loose. This permits waste and sewer gases to escape, and is a health hazard. Repair or replace the cleanout cap.

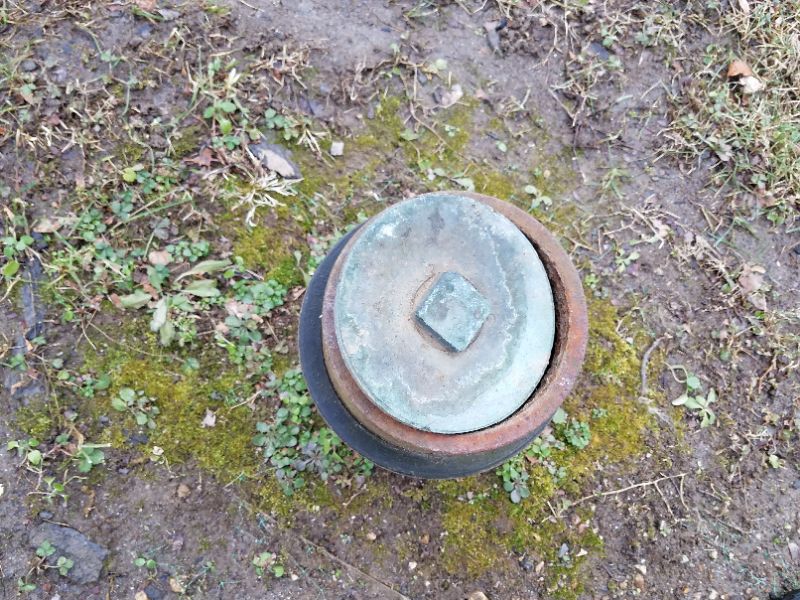
The cleanout pipe is blocked. This should be accessible in case there is a drainage clog and a plumber needs to snake the line. Remove the obstructions.
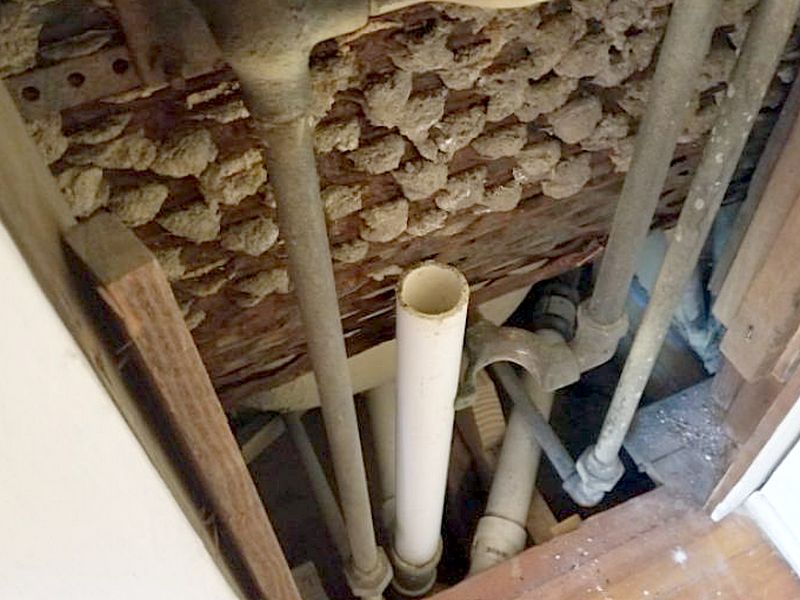
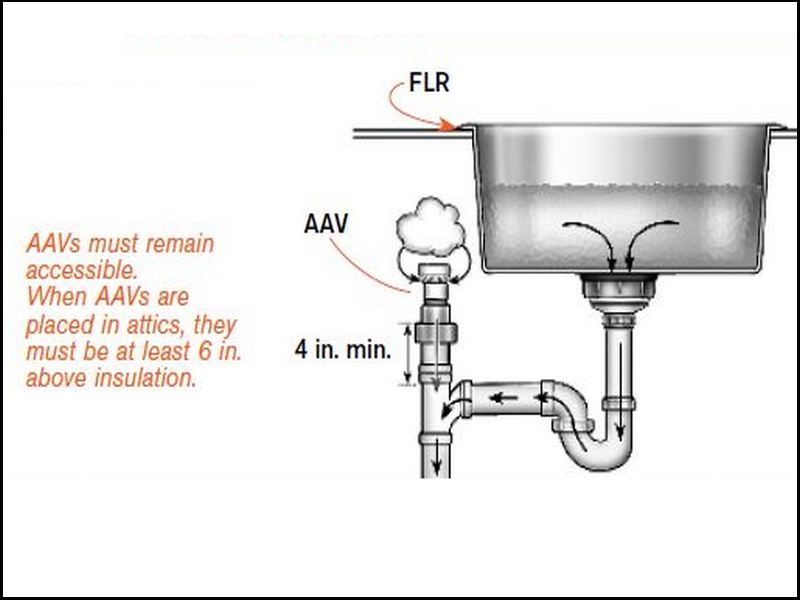
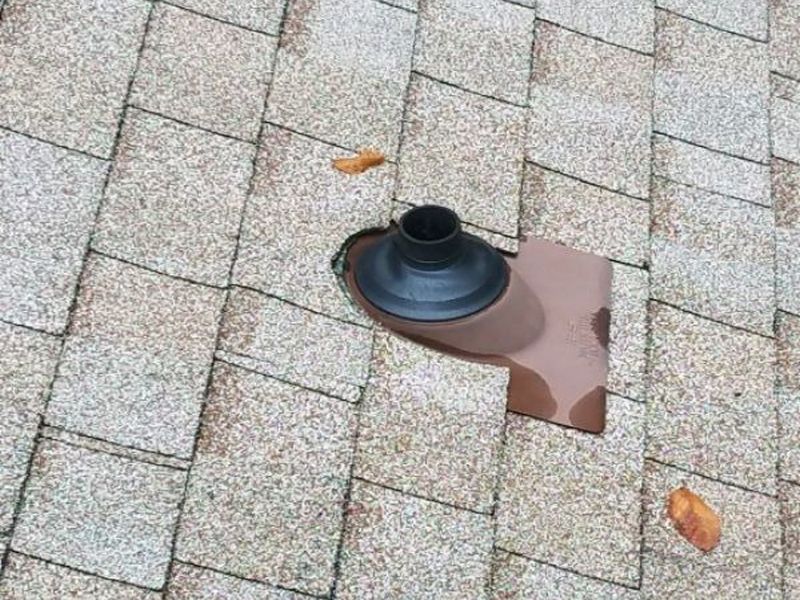
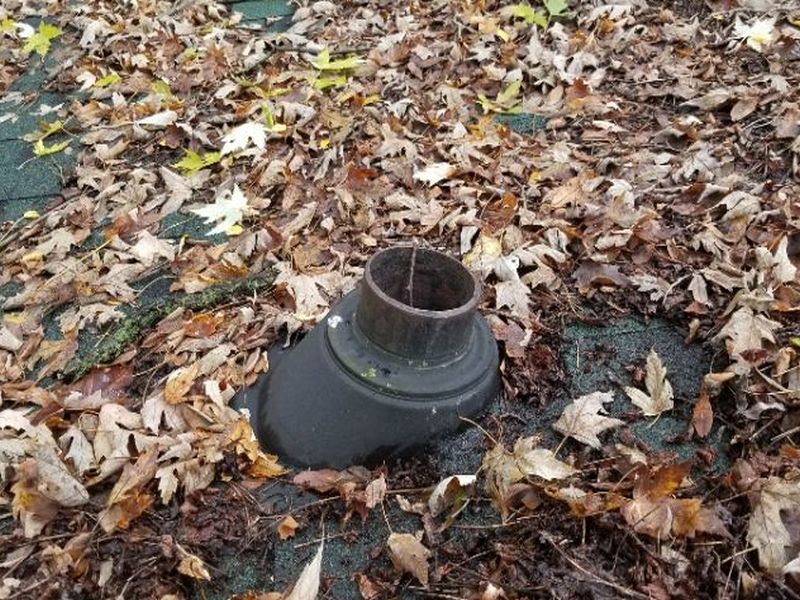
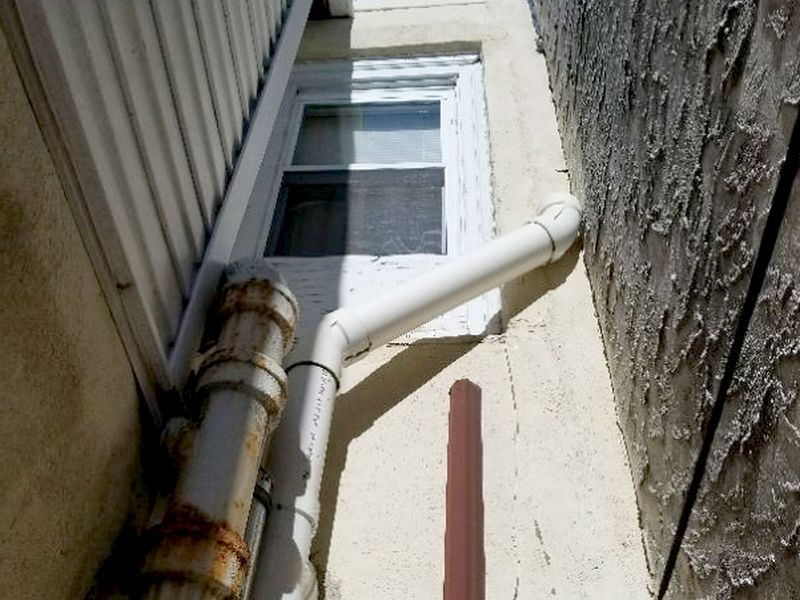
The vents in a DWV system perform 2 different functions. First, they allow the air pressure in the pipes to equalize. Otherwise, a vacuum would occur behind any flowing water or waste, inhibiting proper drainage and siphoning the traps dry. Imagine holding your thumb over the top of a straw filled with water; the water stays in the straw until you remove your thumb and let air in. Secondly, vents carry any noxious gases that rise from the sanitary system out of the house and into the free air above. For this reason, the open pipes must terminate at least 6″ above the level of anticipated snowfall so as to not be blocked. They cannot terminate inside the house without an Air Admittance Valve (AAV). On some older homes, vent pipes may be external, and must be fully secured to the house. A drain that gurgles or gulps when draining indicates improper venting.
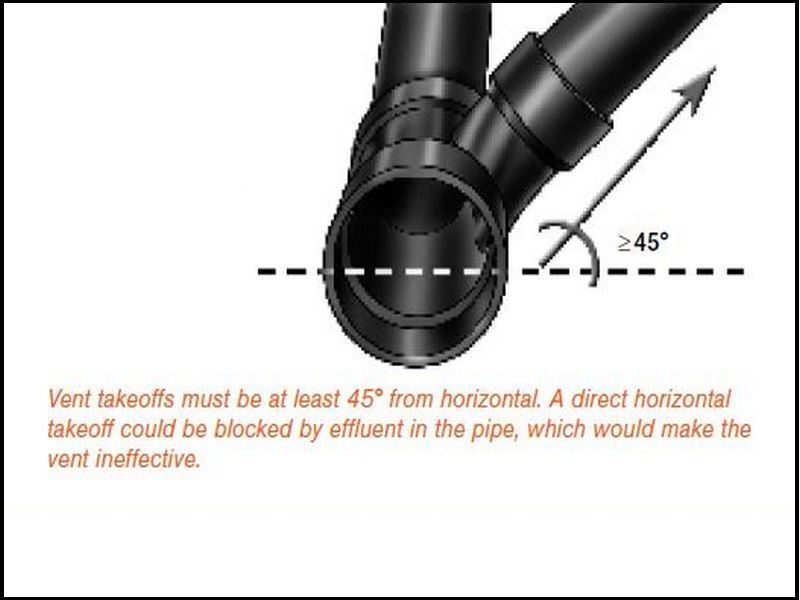
Vent pipe takeoffs above the center line
Air Admittance Valves (AAV)
The vent stack is damaged. Sewer gases may be drawn into the home, and moisture may cause damage to the surrounding siding or roof materials. Hire a plumber to repair or replace the vent stack.
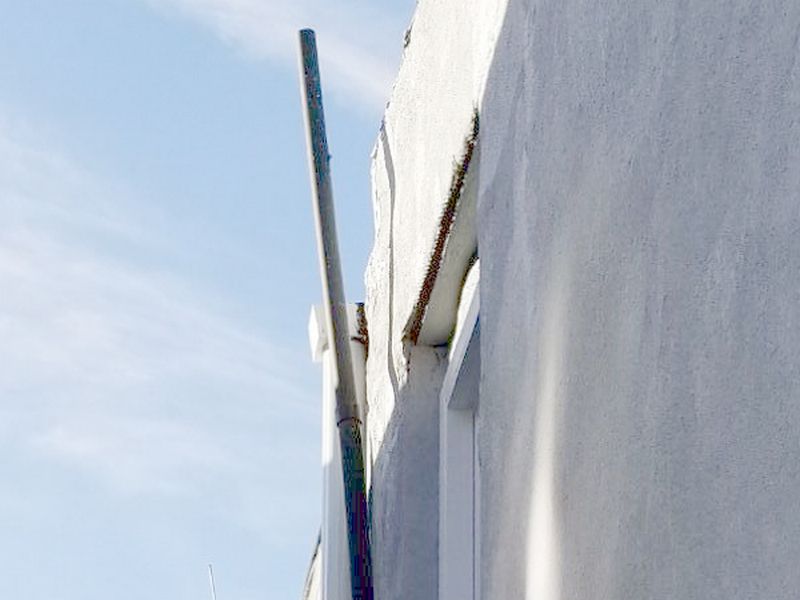
The vent pipe is too short. Vents must extend a minimum of 6″ above the roof surface, or 6″ higher than anticipated snowfall, to prevent blocking the vent. Hire a plumber to extend the pipe least 6″ above the roof line or 6″ higher than expected snowfall.
The vent pipe is improperly terminated. Vents must extend to the exterior above the house to carry sewer gases away from the structure. Hire a plumber to make the needed repairs.
The vent stack terminates below the roof line. Sewer gases may be drawn into the home and moisture may cause damage to the surrounding siding or roof materials. Hire a plumber to reroute the vent pipe above the roof line.
The vent stack is not properly secured. This is a safety hazard. Hire a plumber to secure the vent stack.
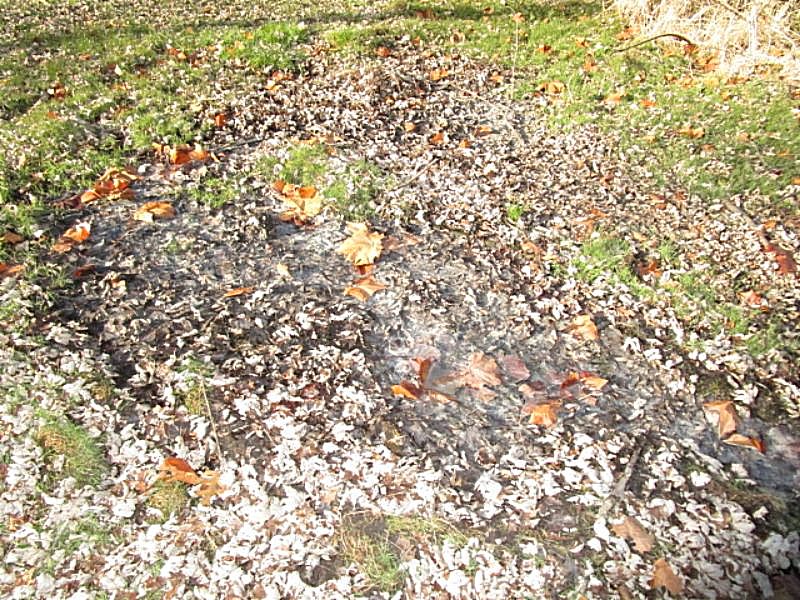
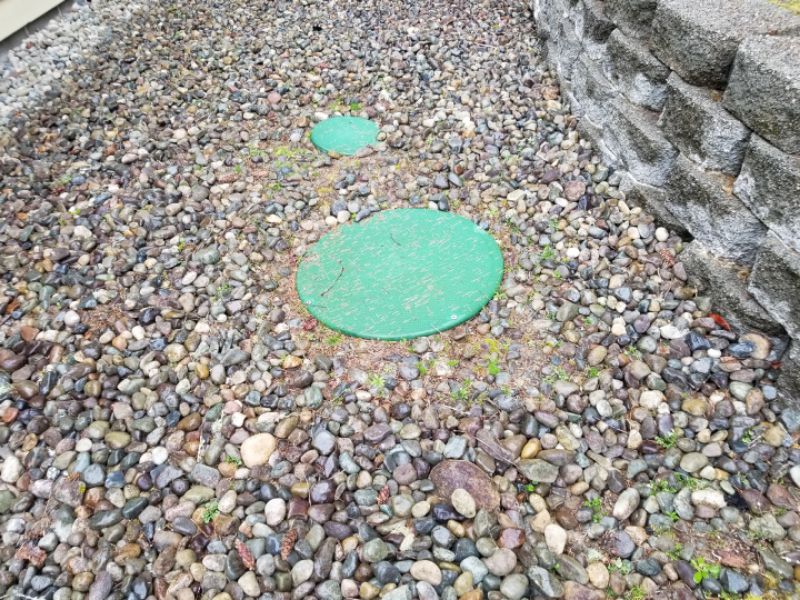
Septic systems are largely sealed installations. Be sure to use the appropriate Limitations and Information Statements. The system should have an alarm that indicates a failure. At the end of your inspection, be sure to walk the septic field outside. Look for any visible effluent on the ground or septic smells.
Septic System Basics
The link below will take you to an excellent video produced by the Washington State Department of Health. It explains the basics of On-Site Sewage Facilities (septic systems), including “traditional” systems vs. alternative/engineered systems.
The septic system’s alarm is sounding. This indicates a waste disposal failure. Hire a plumber to evaluate the system and to make repairs.
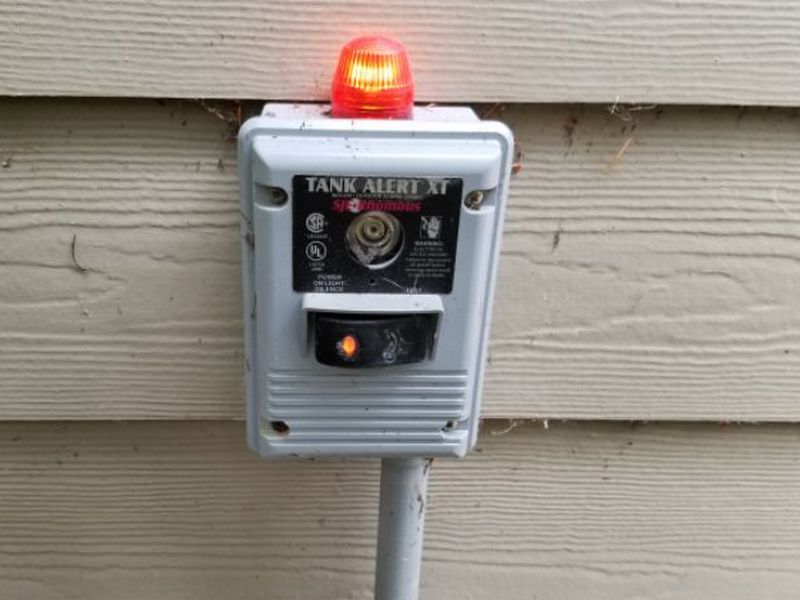
The septic system’s alarm does not respond to the test button. This may allow a system failure and waste overflow. Hire a plumber to evaluate the system and to make repairs.
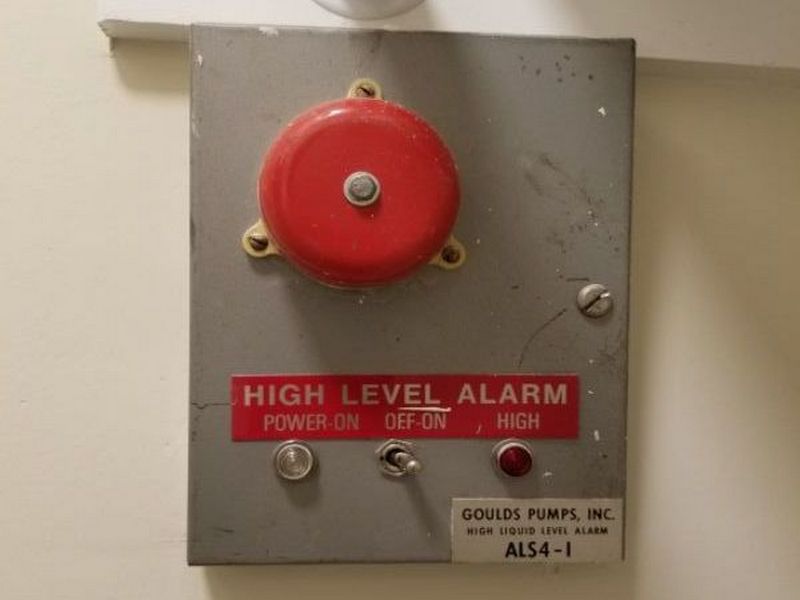
The septic system does not appear to have an alarm installed. This may allow a system failure and waste overflow. Hire a plumber to evaluate the system and to make repairs.
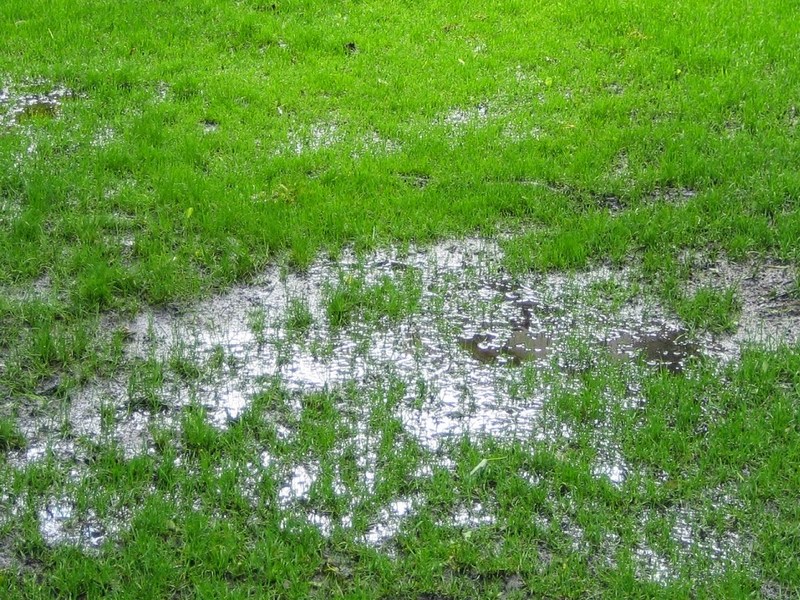
There is effluent breakout visible in the septic field. This indicates a system failure. Hire a plumber to evaluate the system and to make repairs.